What Is RF Radiation? Frequency, Risks and Exposure
RF radiation is electromagnetic energy that travels in waves, spanning roughly 3 kilohertz to 300 gigahertz the band the FCC…
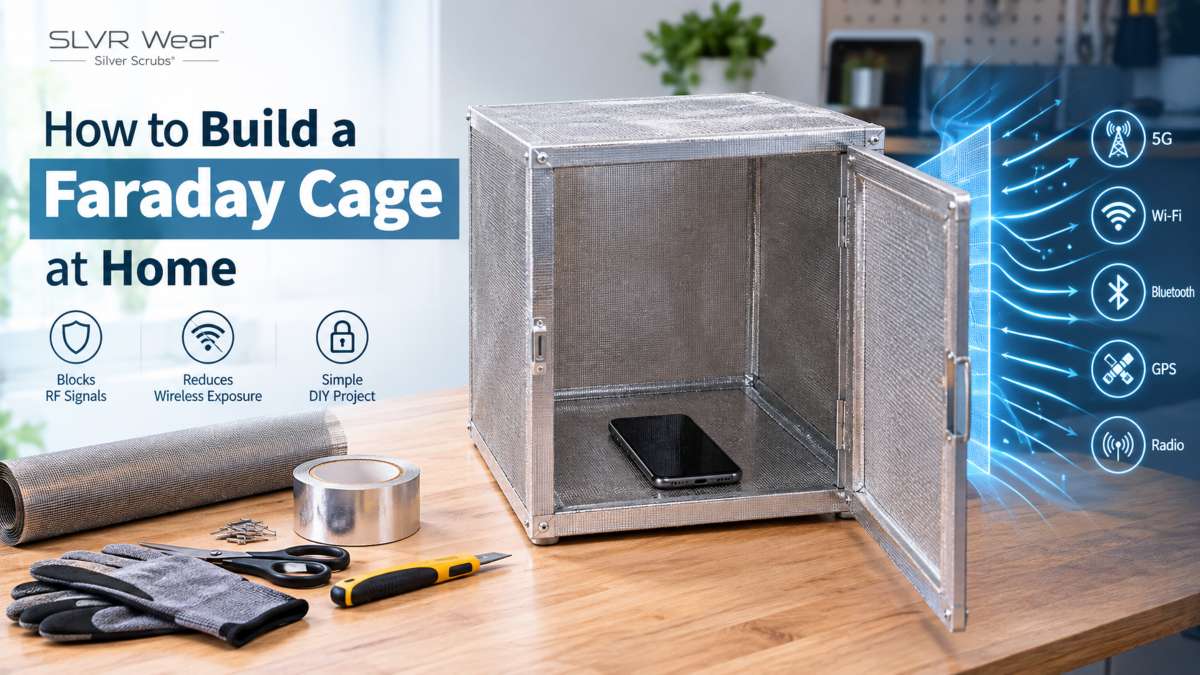
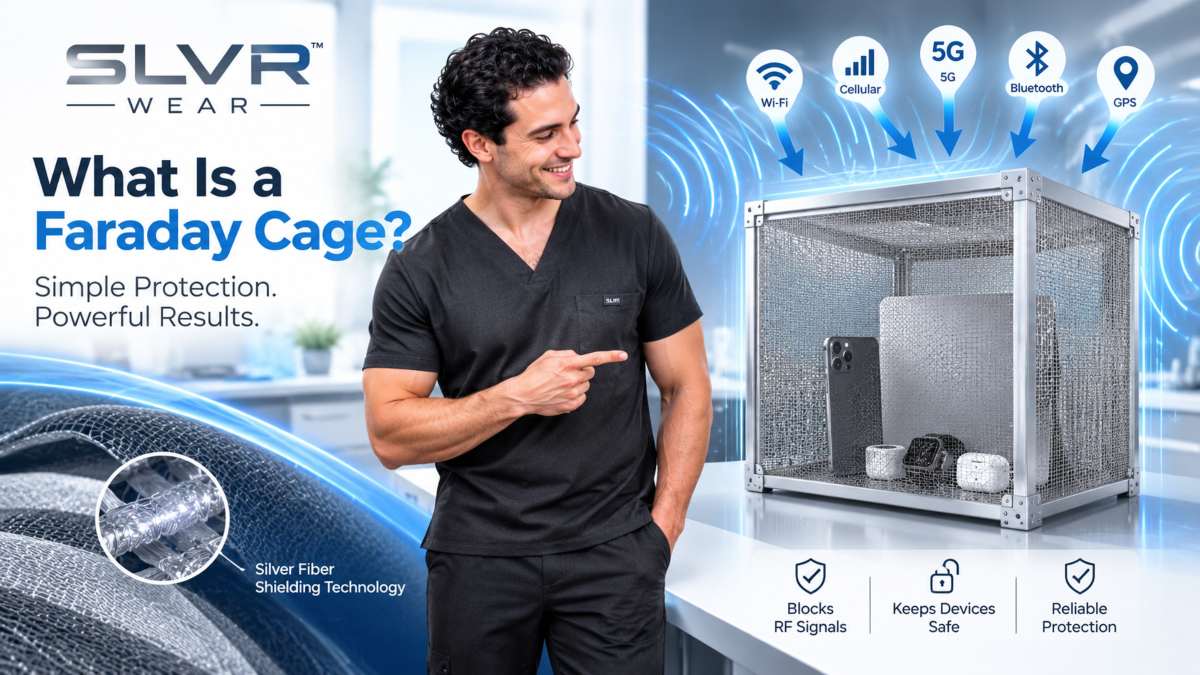
A Faraday cage is a continuous conductive enclosure with no gaps that can block radio signals from passing through. The three simplest ways to build one at home are a lidded metal can, a foil-wrapped box, or a metal mesh enclosure. Whichever you choose, only testing proves it works.
Gaps are the main reason homemade cages fail. A signal can slip through any seam or opening larger than its wavelength. Wi-Fi at 2.4 GHz has a wavelength of about 12.5 cm (roughly 5 inches), and common cellular bands run from about 11 to 43 cm. A loose lid, an overlapping foil fold, or a wide mesh can leak even when the cage looks sealed.
This guide covers How to Build a Faraday Cage at Home. It compares common materials and walks through builds for a box, a bag, and a phone enclosure. It also covers larger projects such as a closet or garage, and how to check your result with a simple test. A DIY cage has no rated performance, so test it with the exact device and radio frequency (RF) signal you care about before you rely on it.
A Faraday cage is a closed conductive shell that weakens outside electric fields and radio signals before they reach what sits inside. For the full science, see our explainer on what is a Faraday cage. This section covers only what affects a homemade build.
When a radio wave hits metal, the charges in the metal move and set up an opposing field that largely cancels the incoming one inside. For this to work, the metal has to form one unbroken surface. A solid sheet of metal is the simplest case. A fine mesh also works, because charges can flow around small openings. Think of the shell as a closed bubble: the more complete it is, the less signal gets through.
A signal can pass through any opening larger than its wavelength. A common rule of thumb is to keep openings well under one-tenth of the shortest wavelength you want to block, and many shielding references use one-twentieth. Wi-Fi at 2.4 GHz has a wavelength of about 12.5 cm, and 5 GHz Wi-Fi is about 6 cm.
The openings in a homemade cage are rarely obvious. A lid that doesn’t touch the body all the way around leaves a slot. Overlapping foil that isn’t bonded leaves a hairline gap. Wide mesh signals that a tighter weave would stop it. This is why most failed DIY cages fail at the seams, not in the material.
All three use the same principle and differ in form and in how easy they are to seal. “Cage” usually means a mesh or framed structure, from a small enclosure up to a room. A Faraday box is a solid-walled container, such as a lidded metal can, which is easier to seal along its seams. A Faraday bag or pouch is a flexible conductive wrapper, convenient for a phone or key fob, but its closure is its weak point.
Choose by what you’re protecting and how tightly you can close it. A rigid box with a tight lid is usually the most dependable DIY option. Mesh suits larger spaces where you need air or access.
 What a DIY cage can and cannot do
A well-built DIY cage can block or reduce signals such as cellular, Wi-Fi, Bluetooth, and GPS for a device placed inside. It cannot give you a guaranteed or rated level of shielding. Homemade builds have no lab certification, and performance changes with the material, the seams, and the frequency. A cage that blocks one signal may leak another, so treat any test result as a check on that one build, not as a general promise.
The best material for a homemade Faraday cage is solid metal with tight seams, such as a lidded galvanized steel can. Fine metal mesh is the best choice when you need a larger or ventilated enclosure. Aluminum foil, conductive tape, and conductive fabric each serve specific roles, but their effectiveness depends on how well you seal them. For a broader look at RF blocking materials, see our materials guide.
| Material | Best for | Weak points | Cost tier | Difficulty |
|---|---|---|---|---|
| Aluminum foil | Quick small builds, lining a box | Tears easily, poor seam contact, oxide layer limits bonding | Low | Easy |
| Galvanized steel can | Phones, radios, small electronics | Lid gap, small size, coating wears at the rim | Low | Easy |
| Copper or steel mesh | Large cages, rooms, ventilated enclosures | Mesh size must be small enough; edges need bonding or soldering | Medium | Moderate to hard |
| Conductive tape | Sealing seams, lids, and joints | Adhesive quality varies, slow over large areas | Low to medium | Easy |
| Silver-fiber fabric | Flexible pouches and wraps | Closure and stitching are weak points, quality varies by product | Medium to high | Easy |
Most good DIY builds combine two of these. A steel can with conductive tape on the lid rim, or a mesh frame with taped seams, will usually outperform any single material used alone. Your result depends on how you join the pieces, and only a test shows how a specific build performs. For more on the fabric option, see what is Faraday fabric.
A signal can pass through any hole larger than its wavelength. Keep openings well below one-tenth of the shortest wavelength you want to block. At 2.4 GHz that is about 1.25 cm, and many references use one-twentieth, about 6 mm, for more margin.
Higher frequencies need tighter mesh. 5 GHz Wi-Fi has a wavelength of about 6 cm, which cuts those limits roughly in half, so size the mesh for the higher band. Fine copper or steel screening, similar to window screen, is a more realistic choice than wide wire. If you’re weighing metals, see whether copper blocks RF signals.
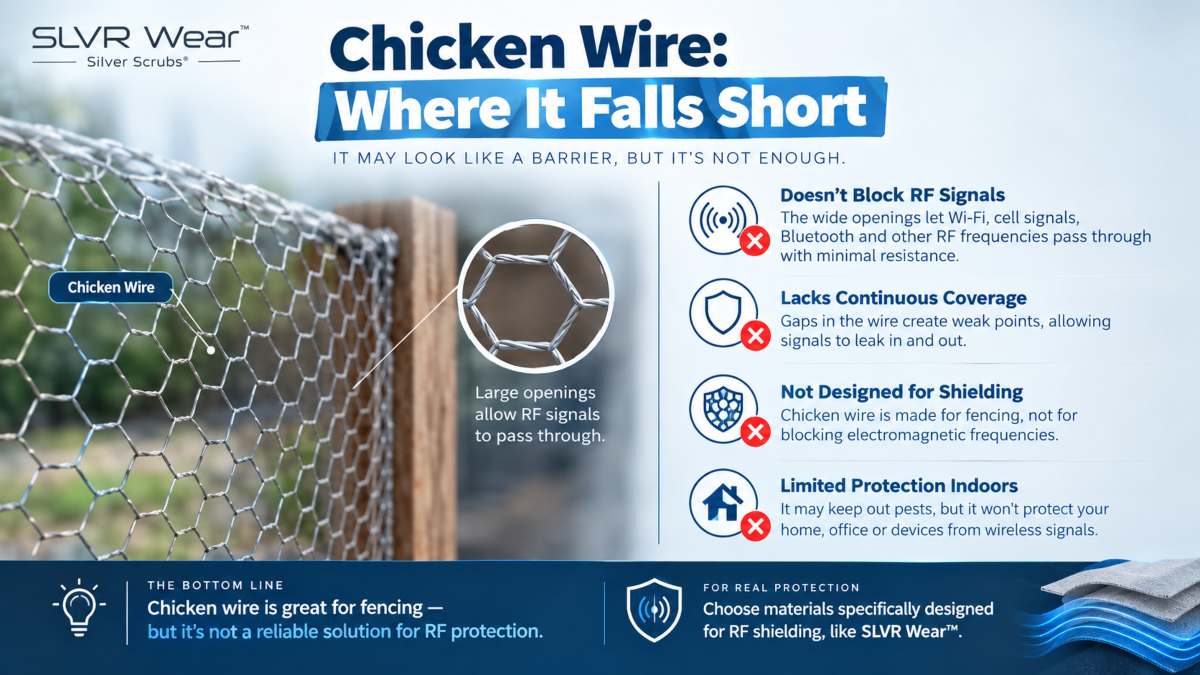
Chicken wire falls short because its openings are large and its joints are not electrically bonded. A common hex pattern has openings of about 25 mm (1 inch) or more, only about one-fifth of the 2.4 GHz wavelength and well above the one-tenth guideline.
The twisted joints touch loosely, so the mesh may not act as one continuous conductor, and contact can change as the wire flexes or corrodes. It may reduce some signals, but it’s an unreliable choice for a cage you plan to depend on. You can improve it by layering a finer mesh over it and bonding the edges. Test the result either way.
 Why thin foil tears and how to layer it
Household aluminum foil is only about 0.02 mm thick, and creases and folds create weak spots that split with handling. Thickness itself isn’t the main electrical problem, because a thin metal layer is enough to affect radio signals at these frequencies. The problem is that tears and unbonded overlaps create gaps. Aluminum also forms a thin oxide layer that can reduce contact where two sheets simply overlap. For the signal-blocking question itself, see aluminum foil blocks RF.
To layer foil well, use heavy-duty foil and wrap at least two layers, with the seams of the second layer offset from the first. Fold edges over each other rather than just overlapping them, press them flat, and seal every seam with conductive foil tape. Avoid repeated unwrapping, since each fold creates new weak points.
To build a Faraday cage at home, you need a conductive shell material, a way to seal every seam, and a non-conductive lining for the inside. A basic box or can build costs little and takes under an hour, while a mesh or room build needs more tools and a tighter seal.
Lidded metal can or box (phones, radios, small electronics)
Foil-wrapped box (quick, low-cost builds)
Metal mesh enclosure (larger cages, ventilated builds)
Flexible pouch or bag
Joint quality matters more than material quantity, so budget extra tape. The skin depth of copper at 2.4 GHz is only about 1.3 micrometers, which means even thin metal is electrically thick enough at Wi-Fi frequencies. In practice, a thin layer fails because of gaps, not because it is too thin.
An inner lining keeps your device from touching the metal walls, protects it from scratches and sharp edges, and stops small items from shorting against bare metal. The metal shell blocks the signal, not the lining, so choose a lining that is dry and non-conductive.
Cardboard is the simplest option, since a fitted sleeve is cheap and holds its shape. Plain polyethylene or packing foam cushions the device and keeps it from shifting. Cotton or felt works well for small cans and bags and stops items from rattling.
Avoid metallic-coated liners such as foil-backed bubble wrap, metallized film, or conductive foam, which can touch the shell and compromise your seal. Keep the lining dry, since damp materials can corrode metal over time, and make sure it never lifts or bunches near the lid.
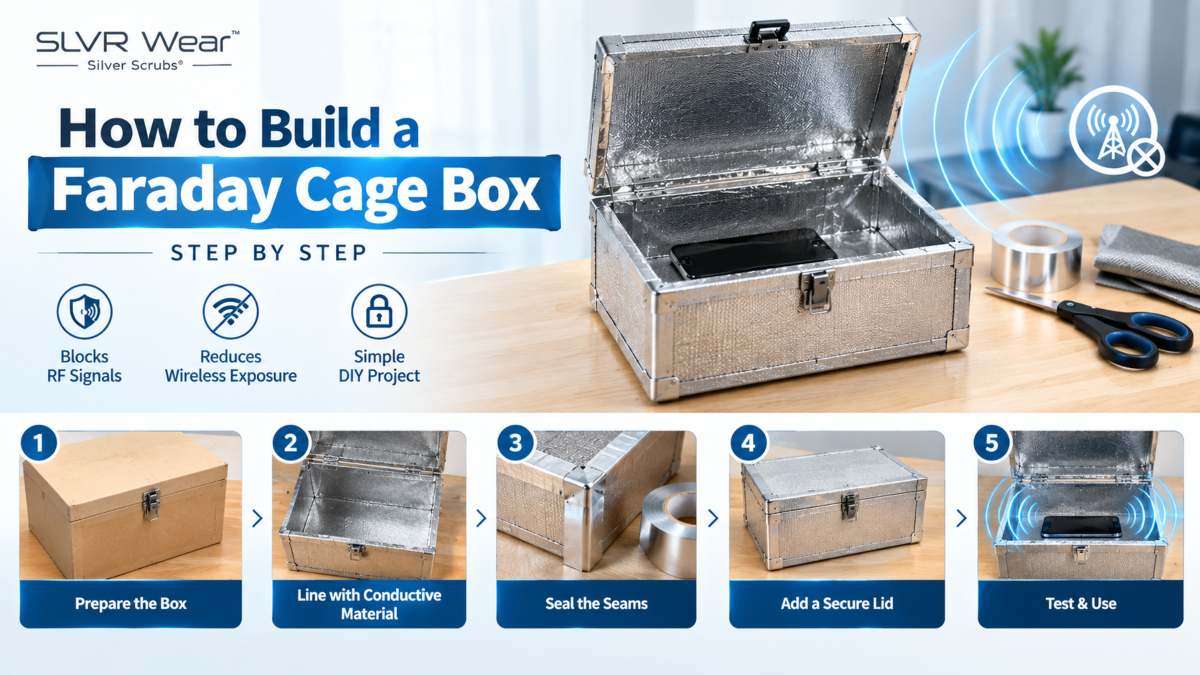
To build a Faraday cage box, start with a metal container that has a tight lid, or wrap a sturdy cardboard box in two layers of heavy-duty foil. Then seal every seam with conductive tape and line the inside so your device never touches bare metal. The lid is the hardest part to get right.
 Build 1: lidded metal trash can or ammo can
A galvanized steel trash can or a metal ammo can is the easiest build because the walls are already solid metal. Only the lid needs work.
Check ammo cans carefully. Most have a rubber gasket that keeps out water, but rubber is an insulator and leaves a continuous gap around the lid. Tape over the seam from outside or replace the gasket with a conductive one. A slot only needs to be about half a wavelength long to leak, roughly 6 cm at 2.4 GHz, and a lid seam is many times longer.
A cardboard box is the cheapest option, but it takes more care to seal. Choose a sturdy box with a close-fitting lid, because a flimsy one will flex and open gaps.
Handle the finished box gently. A bent corner can open a new gap.
The lid is the one seam you open and close repeatedly, so most failures start there. A cage can be perfect on five sides and still leak at the sixth. The goal is continuous metal-to-metal contact all the way around the opening, not just a lid that looks closed.
A reliable approach is to make the lid overlap the body, with conductive tape or a strip of conductive fabric along the rim as a gasket. Press the lid down firmly each time you close it. If the rim keeps losing contact, nest the closed container inside a second metal container to cover gaps in the first. Renew the tape when the adhesive lifts or the rim shows wear.
A lining keeps your device from touching the metal walls and prevents scratches. It does not shield anything. Use a snug sleeve of plain cardboard, foam, or cloth, and keep it dry and non-metallic. Make sure the liner lies flat at the rim so it never props the lid open.
To make a Faraday bag, sew or tape a pouch from conductive fabric (or from heavy-duty foil sandwiched between cloth layers), keep seams to a minimum, and close it with a wide fold-over flap instead of a zipper. The closure matters most because a pouch is only as good as how well it seals each time you use it.
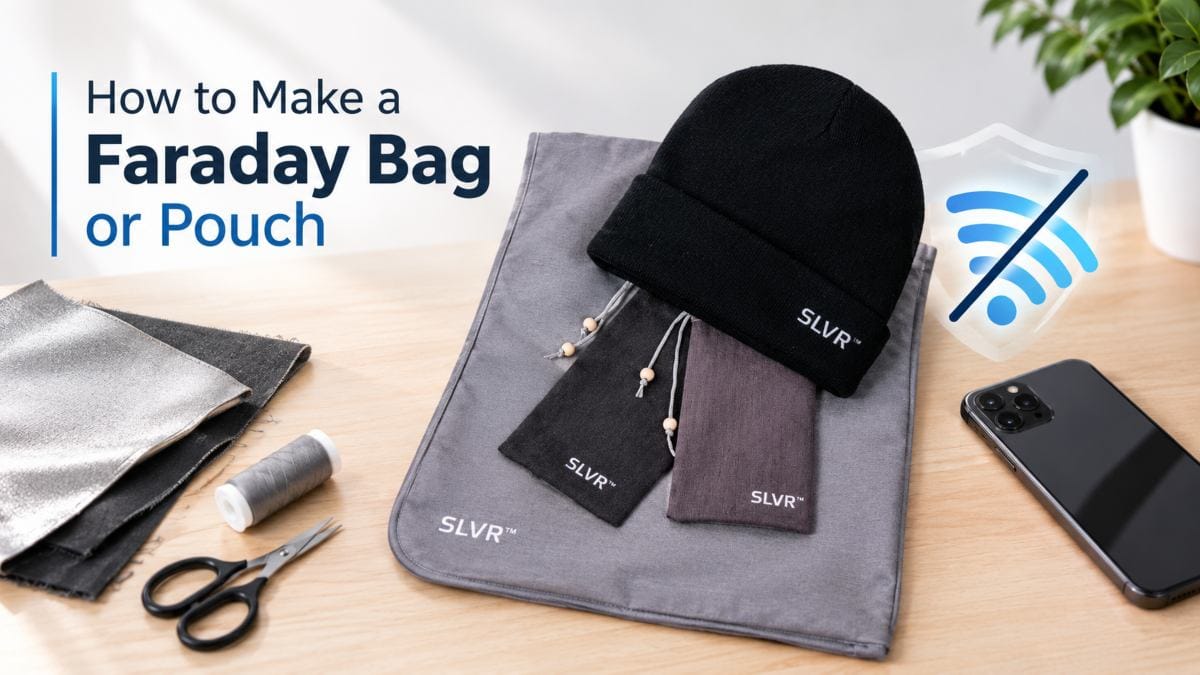 Layered-fabric DIY method
Conductive fabric survives folding and handling better than loose foil. Foil sandwiched between cloth is the budget alternative.
Keep the inner surface clean and flat, and avoid metal snaps or hardware that break the shield. Seams need care because a gap about half a wavelength long can leak a signal, roughly 6 cm at 2.4 GHz, and a side seam on a phone pouch is longer than that.
The opening is the one seam you reopen every time. A zipper or magnetic snap leaves small gaps that tend to wear and shift. A wide flap folded over itself makes the conductive layer overlap on its own, so continuous material covers the opening instead of a mechanical joint.
Fold the flap down at least three times, rolling it tightly like a dry bag, and press it flat against the body. Hold it shut with a clip, hook-and-loop strip, or rubber band rather than taping it each time, since repeated tape use damages the fabric. Then test the closed pouch, because a seal that works when you fold it carefully may leak when you fold it quickly.
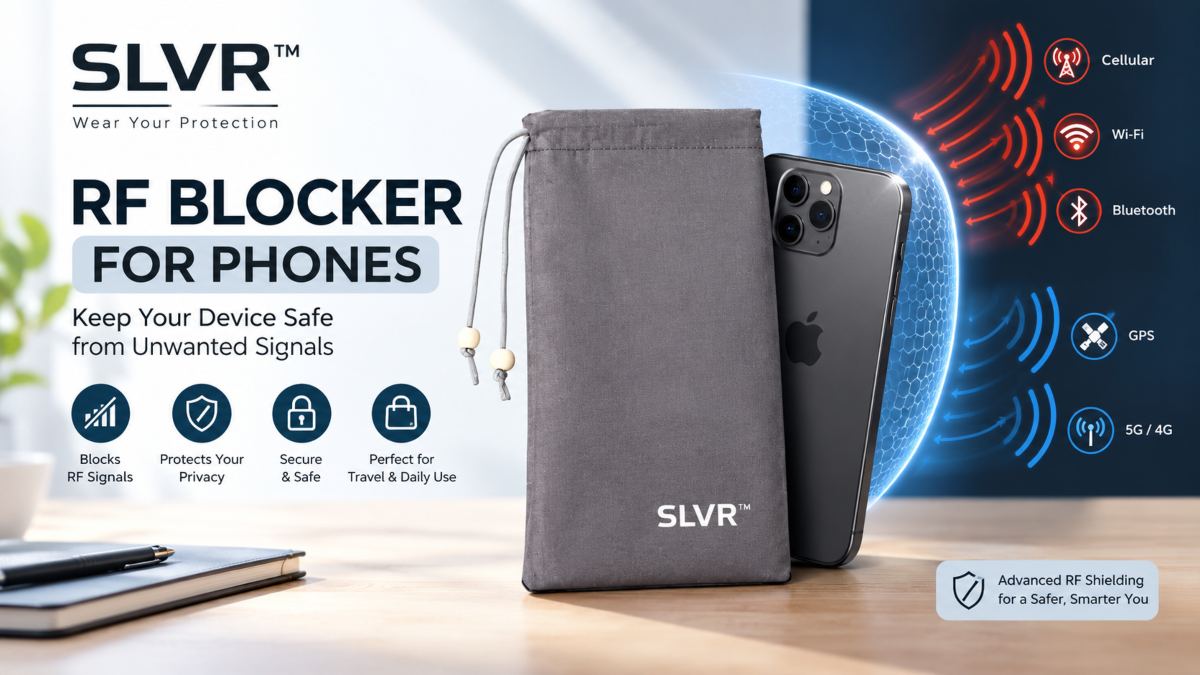
A homemade pouch suits occasional use or experimentation, while a purpose-made signal-blocking pouch, such as the SLVR Wear™ Faraday Phone Pouch, offers consistent construction and stitching without the trial and error. If you plan to rely on a pouch daily, look for published test information for the specific product and run your own check either way.
The most reliable way to make a Faraday cage for your phone is a lidded metal tin with a tape-sealed lid and a cloth liner. A phone wrapped in several layers of foil can also work, but only if you seal every fold. Either way, a call test tells you whether it works. If you only want to switch off 5G rather than block signals entirely, you don’t need a cage: see how to turn off 5G on iPhone.
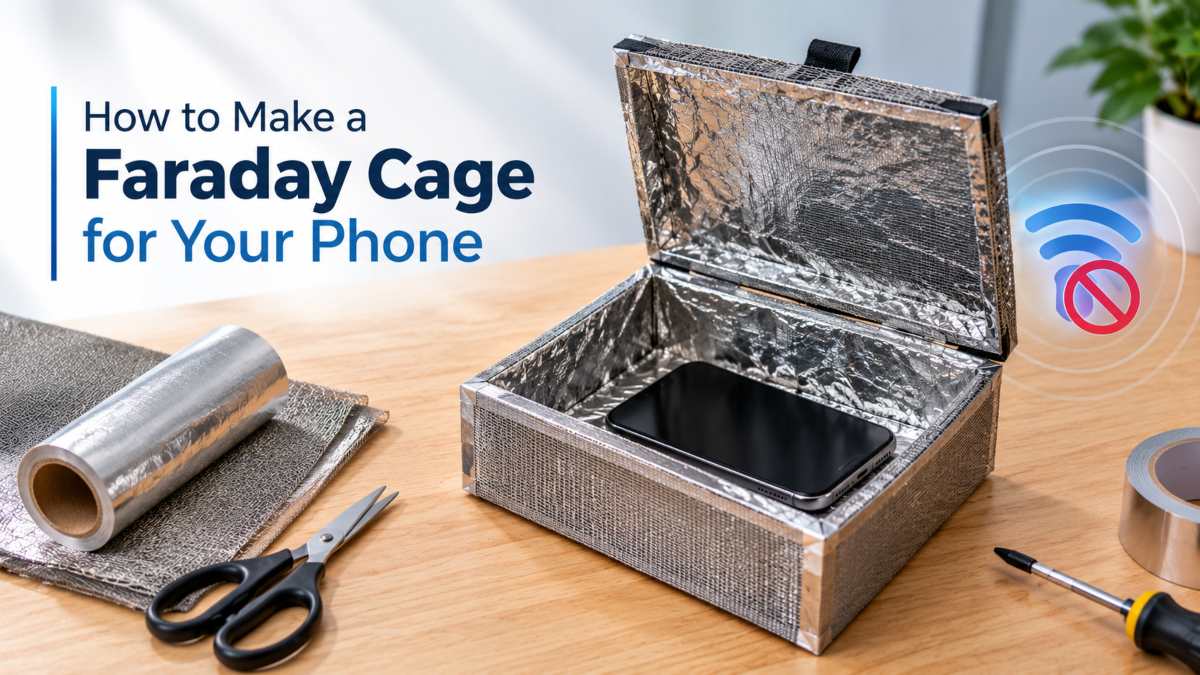 Quick method with foil, and its limits
Foil is the fastest option with items you already have, but it works best as a short-term fix.
Every time you unwrap the phone, the foil creases and tears, and a small gap is enough to let a signal in. A phone is about 15 cm long, while a gap only needs to be about half a wavelength to leak, roughly 6 cm at 2.4 GHz and longer for cellular bands. Expect to rewrap often, and test each time.
A lidded metal tin is better for daily use because the walls are solid and only the lid can leak. Choose a tin a little larger than your phone with a snug lid that closes all the way around. Cookie tins, mint tins, and small paint cans can work, but check the fit first.
Clean the rim and lid edge to bare metal, line the inside with a thin sleeve of cardboard, felt, or foam, place the phone inside, close the lid firmly, and run conductive tape around the outside of the seam. If the tin has a plastic or rubber seal, tape over the seam from outside, because those materials are insulators. For extra margin, nest the closed tin inside a second metal container.
Try to reach the phone while it is sealed, then check the other radios. Do these in order and keep notes so you can compare builds.
Note that airplane mode switches a phone’s radios off, while a cage blocks signals from reaching a phone that is still on, so a pass or fail tells you different things.
If you’re curious how a phone sends signals in the first place, see whether cell phones emit radiation. A pass shows the cage blocked those signals in that test, not across every frequency. If any test fails, look at the lid seam first, then reseal and retest.
To test a Faraday cage, seal a working device inside and try to reach it with the signal you want to block, then repeat with the lid open to confirm the device was working. Use a cell call for cellular signals, a battery radio for AM/FM, and a connected speaker or Wi-Fi device for Wi-Fi and Bluetooth. Each test only covers its own signal, so run all that apply.
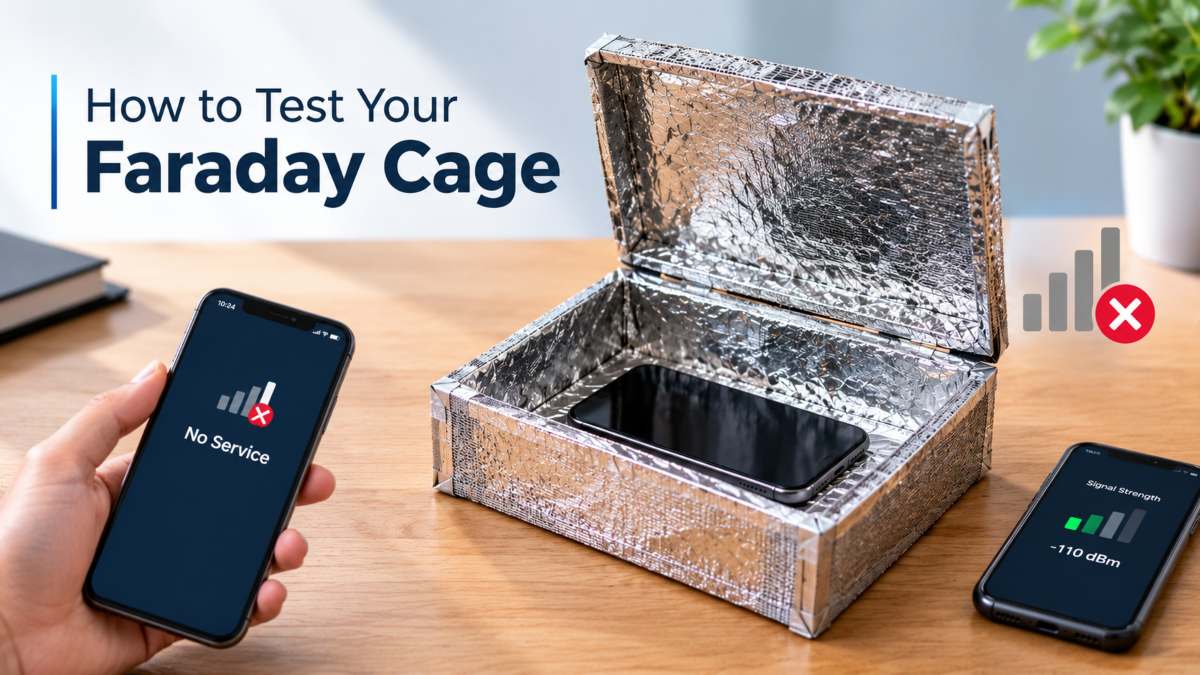 Cell call test
Put a charged phone inside, seal the cage, and call that number from a second phone. A working cage should send the call to voicemail or return an “unreachable” message, and the phone should not ring or vibrate. Run the test where you’ll actually use the cage, since signal strength varies from room to room. Then open the lid and call again. If the phone now rings, the silence came from the cage, not a dead battery or a coverage gap.
The radio test needs no phone and no second person. Tune a small battery-powered radio to a strong local station, confirm you can hear it clearly, then seal it inside the cage. If the sound drops to static or silence, the cage is reducing that signal.
Use both bands if the radio has them, because they behave differently. FM wavelengths are about 3 meters, while AM runs from roughly 180 to 570 meters. A radio that goes quiet on FM but still plays AM tells you the cage has a weakness that a cell call alone would not show. Keep the radio’s antenna inside the cage and make sure the lid is fully closed.
This test checks the 2.4 GHz and 5 GHz bands that home devices rely on. For Bluetooth, pair a speaker, earbuds, or smartwatch with a phone, start playback, and put the paired device inside the sealed cage while the phone stays outside. If the audio cuts out, Bluetooth is blocked. For Wi-Fi, use a device that shows its connection status, such as a tablet streaming video, and watch whether the connection drops after you seal it.
Check the baseline first, and again after reopening the cage. Test close to the router for a clean result, then farther away, because a weak signal can fail on its own and look like a pass.
Ambiguous results usually come from the test, not the cage. A phone that rings once and then stops may be switching networks. A radio that fades but doesn’t go silent suggests a partial seal. A Bluetooth connection that drops after a delay may just be moving out of range.
Change one variable at a time. Retest with the lid open to confirm the baseline, then close it and press down evenly all the way around. Move the device to a different spot inside and test again. If the result changes when you press on the lid, the seam is leaking, so reseal it with conductive tape and repeat the same test.
A passed test only proves the cage blocked one signal, in one place, at one time. Shielding performance changes with frequency, so a cage that silences a cell call can still leak FM radio or Wi-Fi. Cellular signals alone span from about 700 MHz to above 3 GHz, so even a good cell call result covers only part of that range. If a specific frequency matters to you, test that one with the exact device you plan to protect, and retest after any change, since a bent lid or lifted tape can undo a good result.
A large Faraday cage is built the same way as a small one, with a continuous conductive shell on all six sides and sealed seams, but every door, window, vent, and cable becomes a possible leak. Turning a single room or a metal-clad garage into a cage is realistic. Turning a whole house into one is rarely practical.
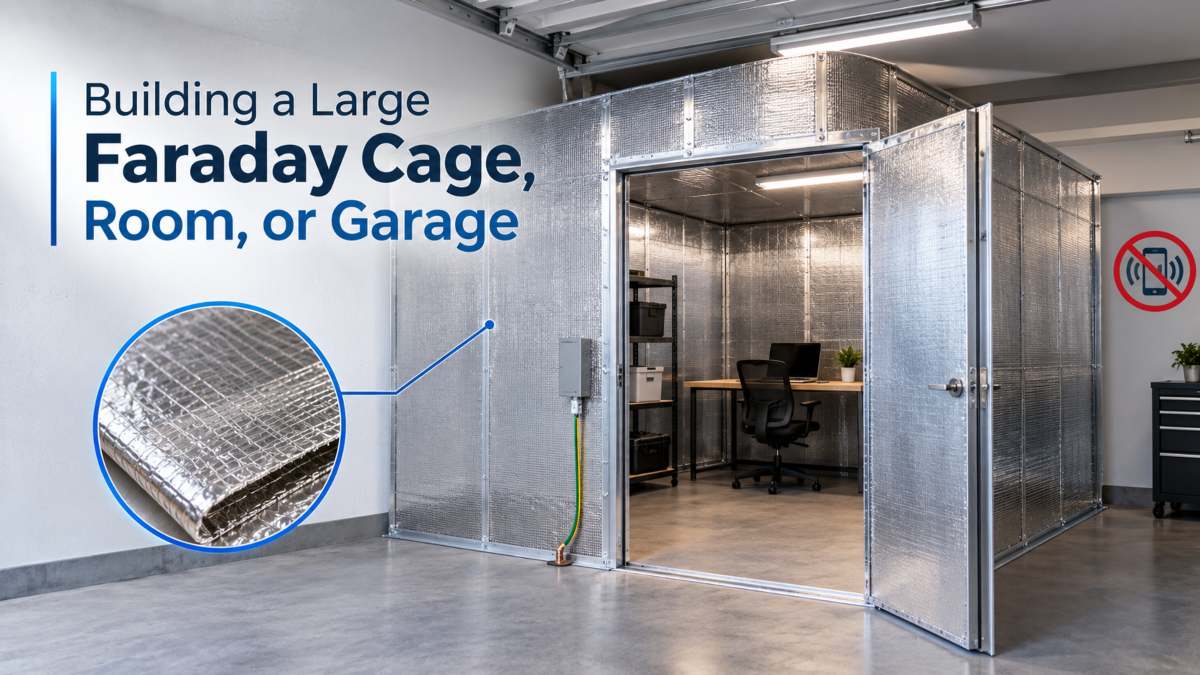 Can you turn your house into a Faraday cage?
Technically yes, but it is a major construction project with limited payoff. Most houses are wood-framed, so the walls, roof, and floor are not conductive. The shell would need conductive material on every side, including floor and ceiling, bonded into one continuous surface.
A single room or a detached metal building is a far better choice. A metal garage or shed already has conductive walls and roof, so the work shifts to the door, seams, and floor. A closet or interior room needs treatment on all six surfaces and should be small enough to reach every joint.
Consider the trade-offs first. A well-sealed room blocks cellular, Wi-Fi, GPS, and radio signals inside, including calls to emergency services. Keep a wired phone or plan to step outside, and never seal a space in a way that blocks ventilation, exits, or smoke alarms.
Three materials cover most large builds. Fine metal mesh is the usual DIY choice for walls and ceilings. Use copper or steel screening with openings under one-tenth of the shortest wavelength you want to block (about 1.25 cm at 2.4 GHz, or about 6 mm using the one-twentieth guideline). Overlap sheets and bond every seam with conductive tape, or solder where you can.
Solid metal panels, such as sheet steel or foil-backed boards, are more reliable than mesh because they have no openings to size. They cost more, weigh more, and need careful joining at the edges.
Shielding paint is a conductive coating, often carbon, nickel, or copper-based. It is easy to apply, but performance depends on the product, the number of coats, and how it connects at seams and corners. Check the manufacturer’s published test data, and note that paint does not cover open gaps at doors and windows.
Openings are where large cages usually fail, so plan them before you cover the walls. A gap about half a wavelength long can pass a signal, roughly 6 cm at 2.4 GHz, and a door perimeter is many times that.
Doors need a conductive seal all the way around. Metal doors with conductive gasketing or contact strips work best, since a plain wooden door leaves the whole opening exposed. Windows can be covered with fine mesh or metal-coated shielding film, though both reduce light and visibility. Vents need honeycomb metal panels, whose narrow, deep cells let air pass while blocking signals. Cables, pipes, and power lines should enter at a single point, ideally through a filtered entry panel, because an unfiltered wire can carry signals straight through the shield.
Grounding is not required for a Faraday cage to block radio signals. The shielding comes from the continuous conductive shell, not from a connection to the earth, so a box, can, or pouch works with no ground at all.
Some conductive paints and room shielding kits call for grounding in their instructions, and it can help drain static charge from a large metal structure. Do not connect a shield to your home’s electrical ground or panel yourself, because mistakes can create shock or fire hazards. Use a licensed electrician if the product instructions or local code call for a ground connection.
A large cage takes far more time and money than a box or pouch, and costs rise quickly with room size and the number of openings. As a rough guide, a small closet with mesh or conductive tape, a sealed door, and a covered vent is a weekend-to-multi-weekend project costing a few hundred to a few thousand dollars. A professionally built shielded room costs far more. These are estimates, so get current quotes.
Plan for ongoing effort too. Doors, gaskets, and seams wear with use, so inspect them regularly and retest after any change. Check local building and fire codes first, because covering walls, blocking vents, or modifying doors can affect safety and compliance.
You can’t put a running generator inside a Faraday cage, and a DIY cage won’t protect an installed inverter or solar array. A cage can hold spare, disconnected electronics, such as a backup controller or a small spare inverter. The documented space-weather risk is mainly to long power lines, not to small devices sitting in a home.
A running generator needs open air. It produces exhaust, including carbon monoxide, which is deadly in enclosed spaces, and it gives off heat and needs a steady flow of cooling and combustion air. A shell tight enough to block radio signals also blocks that airflow, which creates fire, overheating, and poisoning hazards.
Consumer safety guidance consistently says to run generators outdoors, well away from doors, windows, and vents. A mesh enclosure with large openings might allow airflow, but it would let signals through and defeat the purpose. If your goal is to protect generator electronics, the practical route is protecting a spare control board, not the generator itself.
Spare parts are the best use of a Faraday box in a power-backup setup. A lidded metal can or ammo box with a sealed lid and cloth liner can hold a spare generator control board, a backup charge controller, a small spare inverter, a handheld radio, or a tested spare phone. These items are unplugged and have no long cables attached, which is where a cage works as intended.
Disconnect everything first, because a connected wire carries signals into the box and breaks the shield where it passes through. Keep batteries out or removed, label the contents, test the closed box with a radio or phone, and check the seal now and then since tape and gaskets wear.
 Inverters and battery systems: what to know
You can’t practically put an installed inverter, battery bank, or solar array inside a cage. Panels sit outdoors, and the wiring between panels, inverter, battery, and the grid acts as a long conductor that runs through any shell around the equipment. A box with cables passing through it doesn’t provide the same shielding as a sealed box.
I found no verified testing showing that a homemade enclosure protects an installed solar or battery system, so treat any such claim with caution. Manufacturer guidance, surge protection, and a licensed electrician are better sources for installed equipment. A spare inverter or controller kept disconnected in a sealed box is the part a cage can protect.
Documented risk from solar storms is concentrated on large power systems, and evidence for household electronics is much thinner. NOAA’s Space Weather Prediction Center says geomagnetic storms can disrupt the electric power grid. Induced currents can push power transformers outside their design range, causing core saturation and heating that could damage parts of the transformer. An SWPC spokesperson has explained that these currents can pass through long conductors like power lines. That mechanism depends on long conductors such as transmission lines and pipelines, not on a phone or radio sitting in a drawer.
The scale of recent events is documented too. SWPC reported that the May 2024 storm reached G5, a level not seen since October 2003, and SWPC can give warning times of between 17 and 90 hours before a coronal mass ejection reaches Earth. That window may give you time to unplug spare equipment, but it doesn’t mean you need a Faraday cage to protect it.
I could not verify from primary sources that a solar flare or geomagnetic storm will destroy ordinary small electronics, or that a DIY cage reliably prevents it. The same goes for nuclear electromagnetic pulse (EMP) claims, which are a separate topic that calls for government and national-laboratory reports. Treat confident claims about either one as unverified until you can trace them to a source like NOAA’s SWPC or an official government study. A cage is a low-cost precaution for spare devices, not a proven defense against these events.
The most common mistakes are gaps at the lid and seams, cables or conductive items that pass through the shell, skipping an interior liner, relying on a single layer of foil, and never testing the finished build. Most of them leave the cage looking sealed while it quietly leaks.
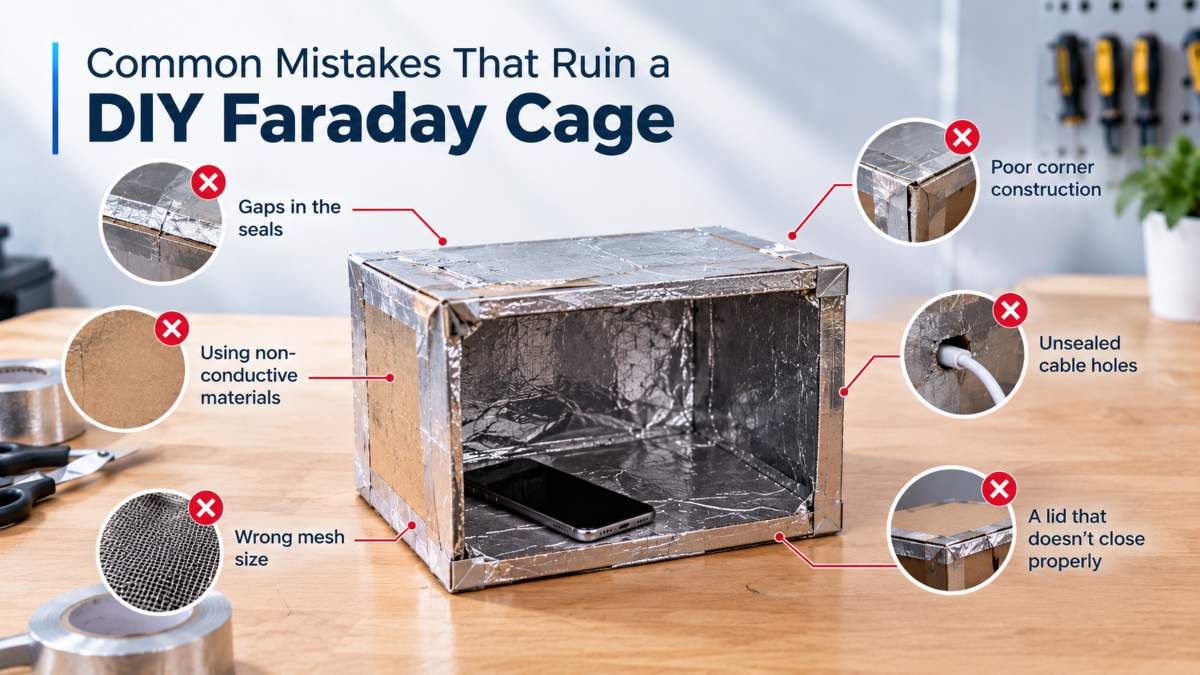 Gaps at lids and seams
Gaps are the number one reason homemade cages fail. A signal can leak through any slot about half its wavelength long, roughly 6 cm for 2.4 GHz Wi-Fi, and a lid seam or foil fold is many times that length.
Common causes include lids without bare-metal contact, rubber gaskets that insulate the rim, foil that overlaps but isn’t bonded, and tape that lifts over time. Clean the rim to bare metal, bridge every seam with conductive tape, and press the lid down firmly each time you close it. Check the seam after repeated use, because wear opens gaps that weren’t there when you built it.
Conductive items cause problems when they connect the inside to the outside or bridge across a seam. A charging cable plugged into wall outlet, a wire poking out under the lid, or a metal object wedged in the seam can carry signals through the shield, so the cage behaves like a box with an antenna sticking out.
Loose metal creates a smaller problem. Keys, coins, or a battery’s bare terminals can short against the walls or each other, draining or damaging a device. Put only the items you want to protect inside, unplug everything, and keep all wires entirely within the cage.
An interior liner keeps the device from scraping, shorting, or shifting against the metal. It adds no shielding, which is why people skip it, but without one a phone or controller can pick up scratches, rattle during handling, or touch a seam in a way that holds the lid open.
Use a snug, dry, non-conductive sleeve of cardboard, foam, or cloth, and check that it lies flat at the rim. Avoid foil-backed bubble wrap or metallized film, which can touch the shell and compromise the seal.
A single loose wrap of foil is rarely enough. Household foil is plenty of metal for radio frequencies, but it tears and creases easily, and each tear or unbonded fold becomes a gap. If you use foil, choose heavy-duty sheets, wrap at least two layers with offset seams, fold the edges over each other, and seal every joint with conductive tape. Better still, use foil as a layer inside a rigid container such as a metal tin, and replace it when it wrinkles or tears.
Never testing lets all the other mistakes go unnoticed. A cage that looks sealed can still leak, and a DIY build has no lab rating, so a test is the only evidence you will get. Seal a phone inside and call it, put a battery radio inside and listen for the signal to drop, or try a Bluetooth speaker, always with a lid-open baseline first. Retest after any change, such as new tape, a bent lid, or a different container. A single pass covers only the signal and situation you tested.
A DIY Faraday cage isn’t enough when you need documented shielding, protection across a wide frequency range, or consistent results every time. A homemade build has no lab rating, so for professional, high-frequency, or high-stakes needs, a tested, purpose-built product is the safer choice.
A homemade cage is hard to trust for high-frequency or professional work because its performance is unmeasured and varies from build to build. Shielding is rated in decibels (dB) across a stated frequency range. As a reference point, 20 dB of attenuation cuts signal power to 1% of the original, and 40 dB cuts it to 0.01%. A lab measures those numbers with calibrated equipment, which a taped box or foil wrap can’t match at home.
Higher frequencies make the problem harder, because wavelengths get shorter and the gaps that matter get smaller. A seam that holds at 2.4 GHz can leak at 5 GHz. If your work involves sensitive equipment, security testing, regulatory compliance, or evidence handling, a shielded enclosure from a manufacturer that publishes its test data is more appropriate. A professional installer should build and certify a permanent shielded room. A home test also checks only what you try: a phone call test confirms one cellular signal in one place and says nothing about other bands.
 When to consider tested, purpose-built products
A purpose-built product makes sense when you want consistent construction, repeatable closure, and published test information without rebuilding and retesting a homemade version. Daily-carry items are the clearest case, since a phone handled every day puts more wear on a taped seam or foil fold than a box on a shelf does.
When you compare RF blockers, look for a stated test method, the frequency range covered, and results for that specific product, not a general claim about the category. Be wary of vague promises or guaranteed results, since no shield is perfect and performance depends on the signal and the situation.
SLVR Wear™ publishes lab results, and each report states which products it covers, so check that before relying on any figure. If you need a signal-blocking phone pouch, the SLVR Wear™ Faraday Phone Pouch is one option to evaluate against these criteria. A homemade cage remains a reasonable choice for spare parts, experiments, and low-stakes RF protection, as long as you test it and understand its limits.
Yes, aluminum foil can work if it forms an unbroken layer. Use heavy-duty foil, wrap at least two layers with offset seams, fold the edges over each other, and seal every joint with conductive tape. Foil tears easily, so a rigid metal container with a tight lid is usually more reliable.
Chicken wire is unreliable. Its openings are about 25 mm or more, well above the roughly 12.5 mm one-tenth guideline for 2.4 GHz Wi-Fi, and its twisted joints don’t bond into one conductor. It may weaken some signals, but a finer mesh with bonded edges is a better choice.
No. A Faraday cage blocks radio signals through its continuous conductive shell, not through a ground connection, so boxes, cans, and pouches work without one. Some shielding paints and room kits call for grounding in their instructions. Never connect a shield to your home’s electrical ground yourself; use a licensed electrician.
Test it. Seal a charged phone inside and call it, or put a battery radio inside and listen for the signal to drop. Run a baseline with the lid open first. A pass only covers that signal and location, so test each signal you care about and retest after any change.
No, not a running one. Generators produce carbon monoxide exhaust and heat and need open air, and a sealed shell blocks that airflow. Run generators outdoors, away from doors and windows. A spare control board or backup electronics, unplugged and stored in a sealed metal box, is a more realistic use of a cage.
Technically yes, but it is rarely practical. Most houses are wood-framed, so you would need conductive material bonded across every wall, the roof, and the floor, plus sealed doors, windows, and vents. A single room or metal outbuilding is more realistic, and sealing it also blocks emergency calls.
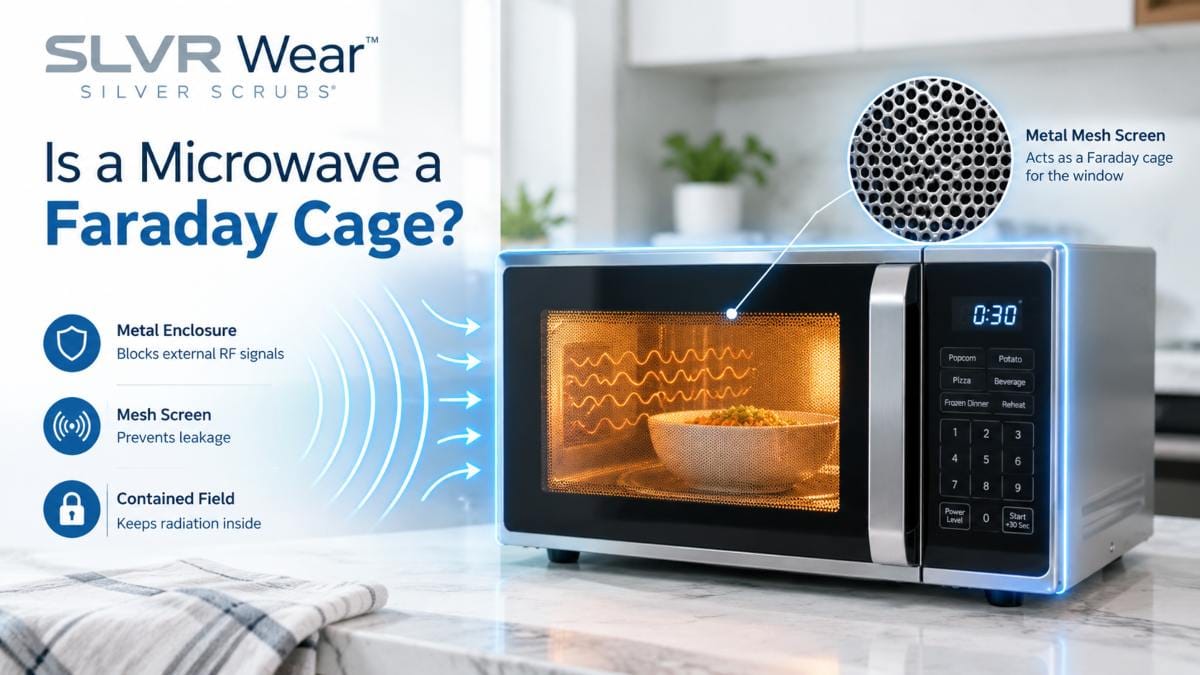
A metal can with a tight, taped lid can work well. A microwave oven is less predictable because its door seal and mesh window are designed to contain microwave energy, not to block every signal, and results vary by model. See our full answer on whether is a microwave a Faraday cage, and test either container.